Setting up wordpress can be easy. A lot of providers give one click install for wordpress, but we’ll take the scenic route with tunnels 😉
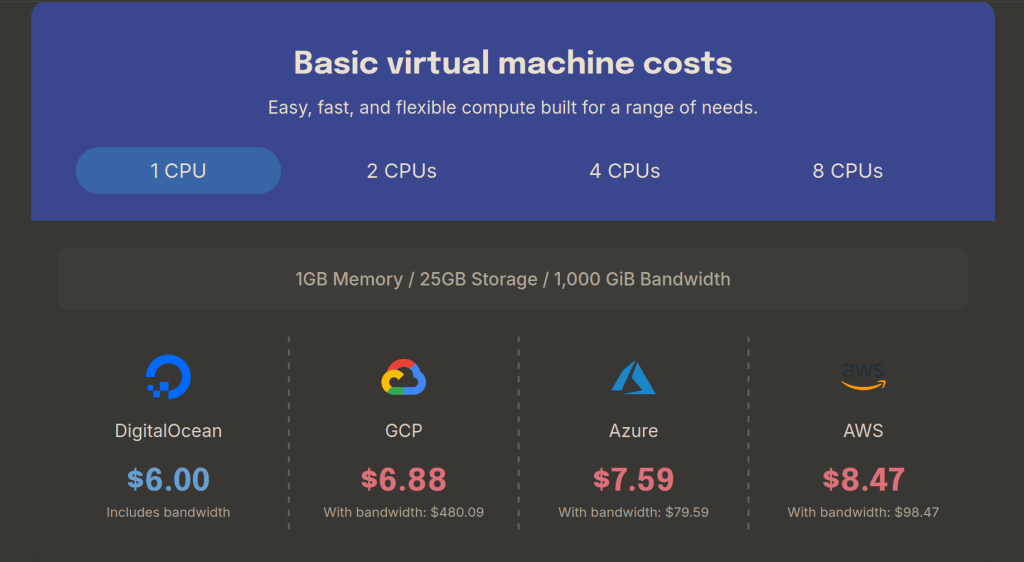
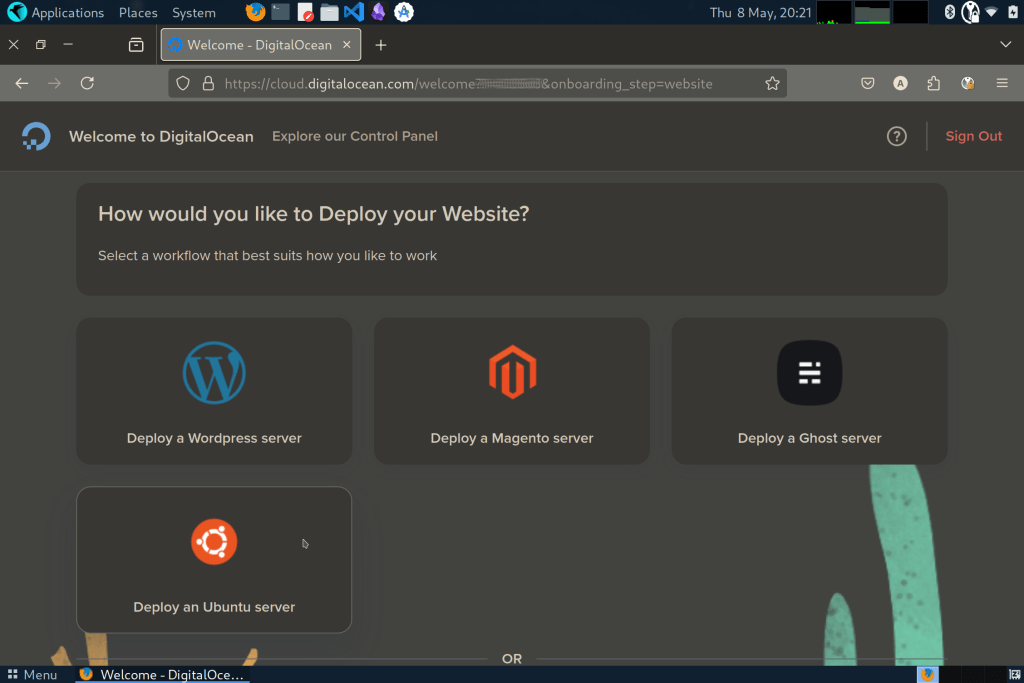
Now, I’m just sharing my journey which is going to be specific to me, but there’s probably still some overlaps. Know that this isn’t exactly a detailed tutorial, and I already had a domain from Cloudflare. So, next up I needed was a server, and I went with Digital Ocean’s droplet instance running ubuntu. They seemed decent, especially if including bandwidth.
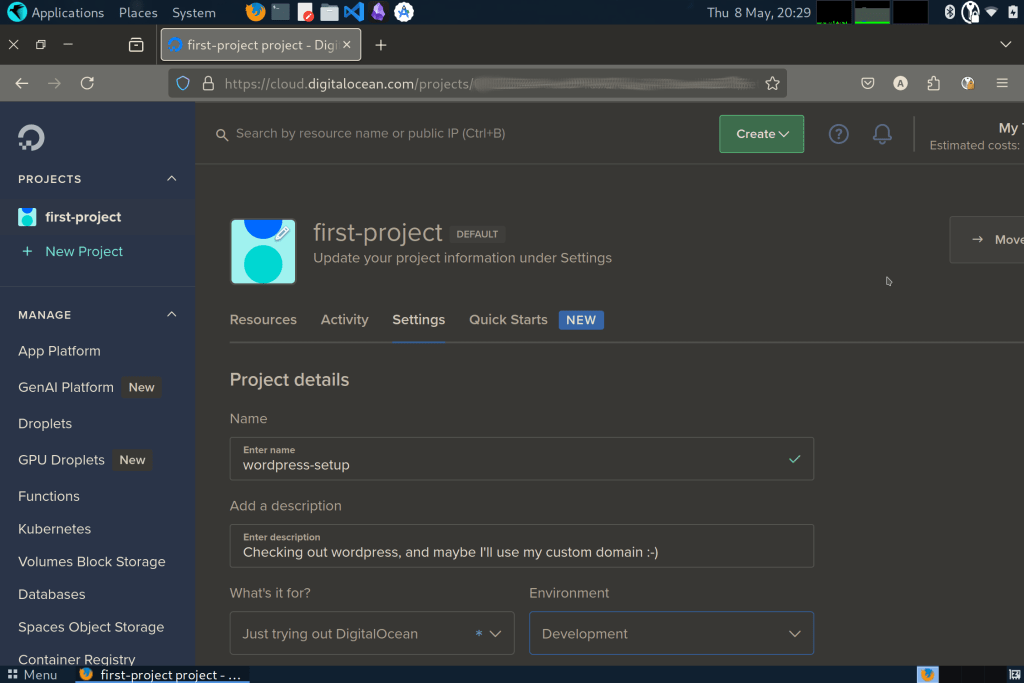
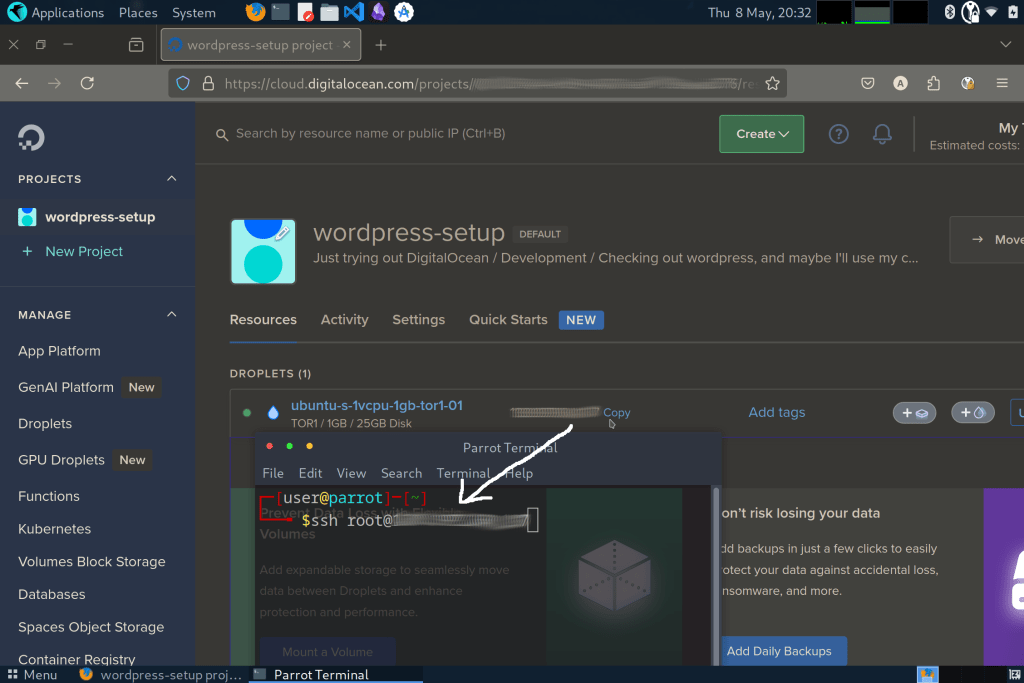
Now that we have our droplet instance, we can use it by creating a project, setting it up for access. I used ssh to connect to it, by grabbing the ip address of my instance.
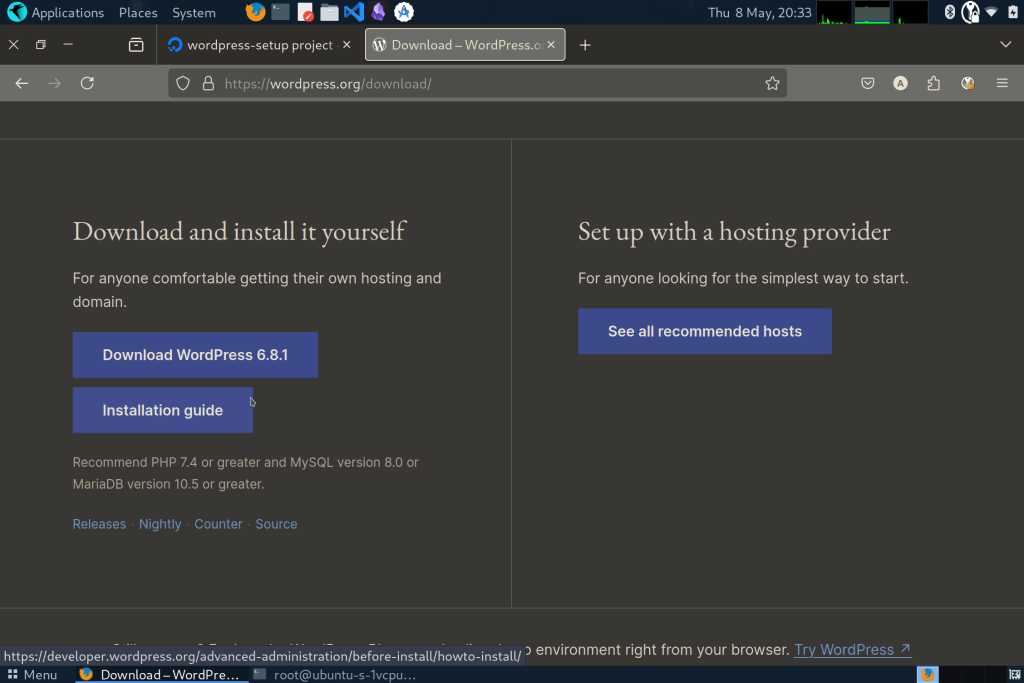
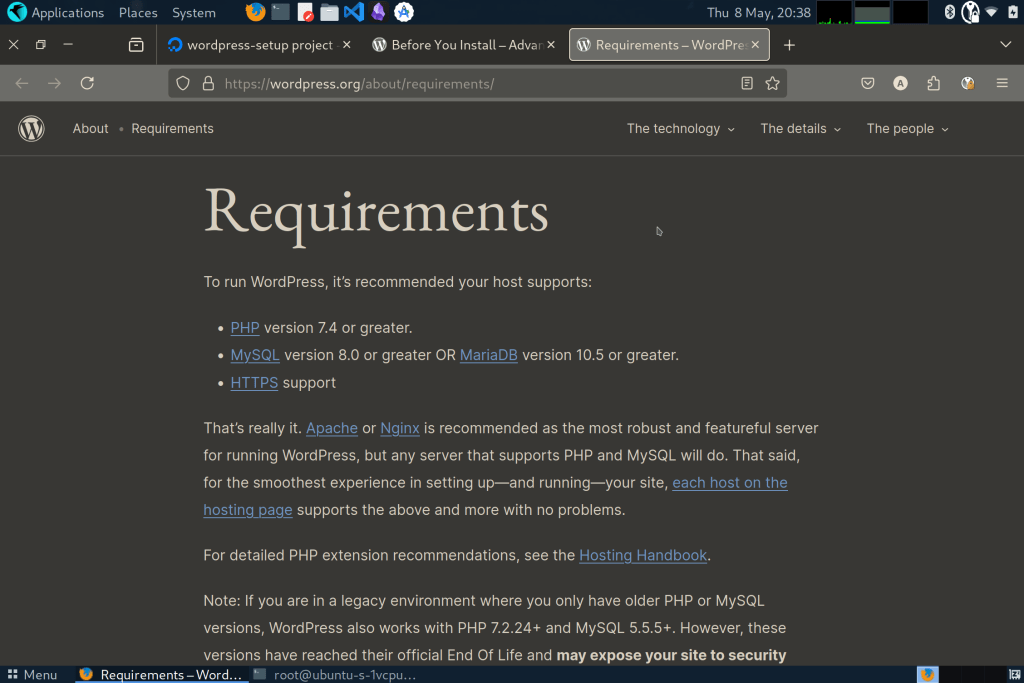
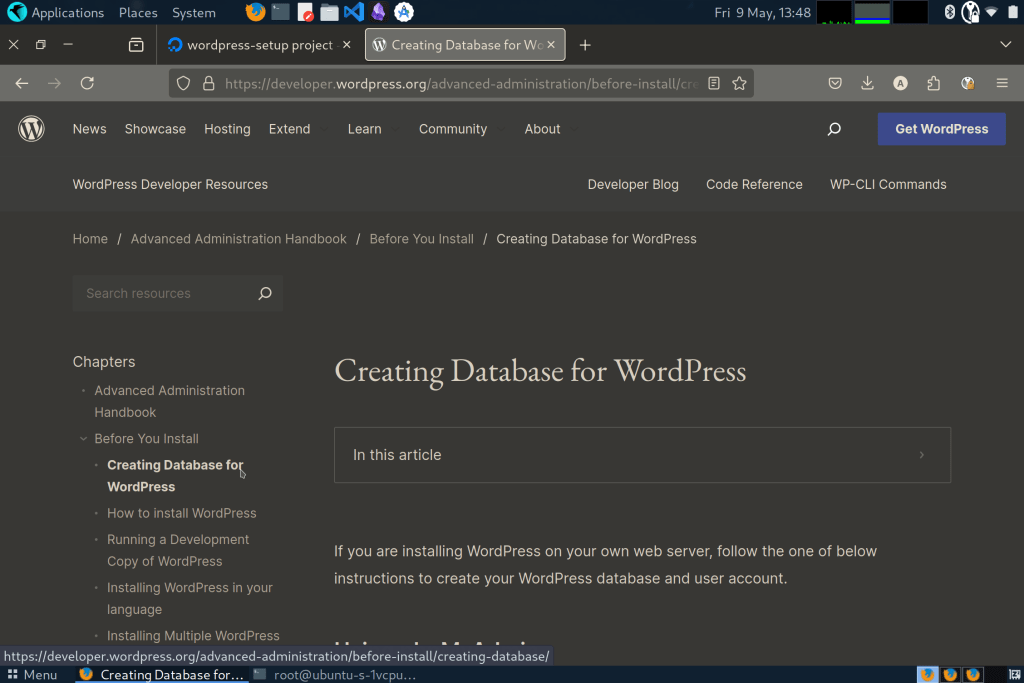
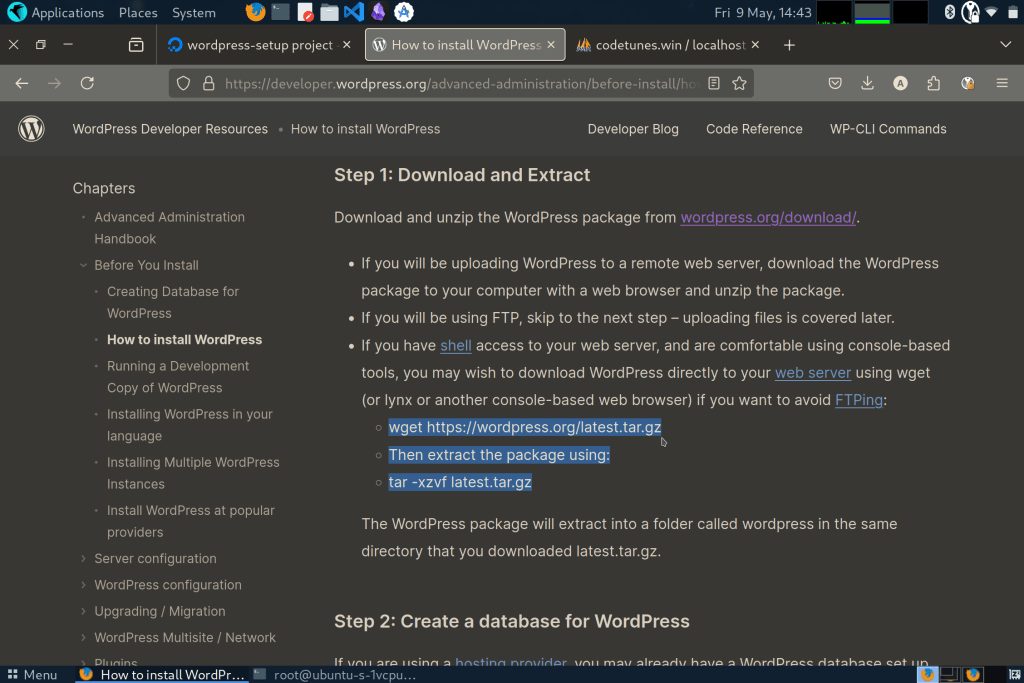
Now, we follow the installation guide at wordpress.org. But, before we can install the wordpress itself, we need to have compatible versions of the following:
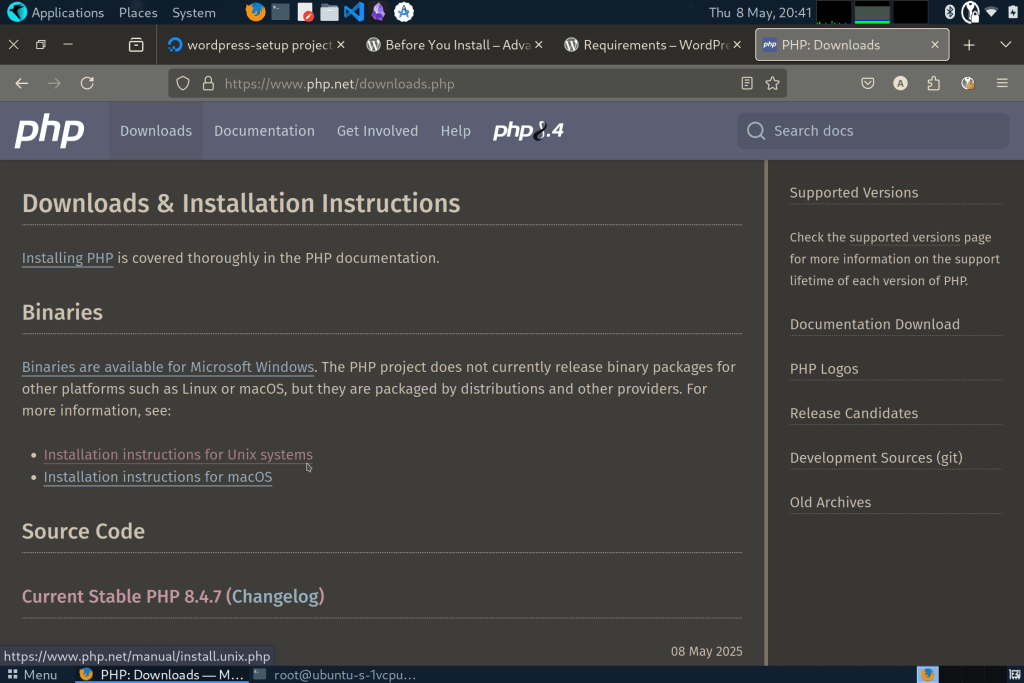
PHP
MySQL or MariaDB
Apache or Nginx
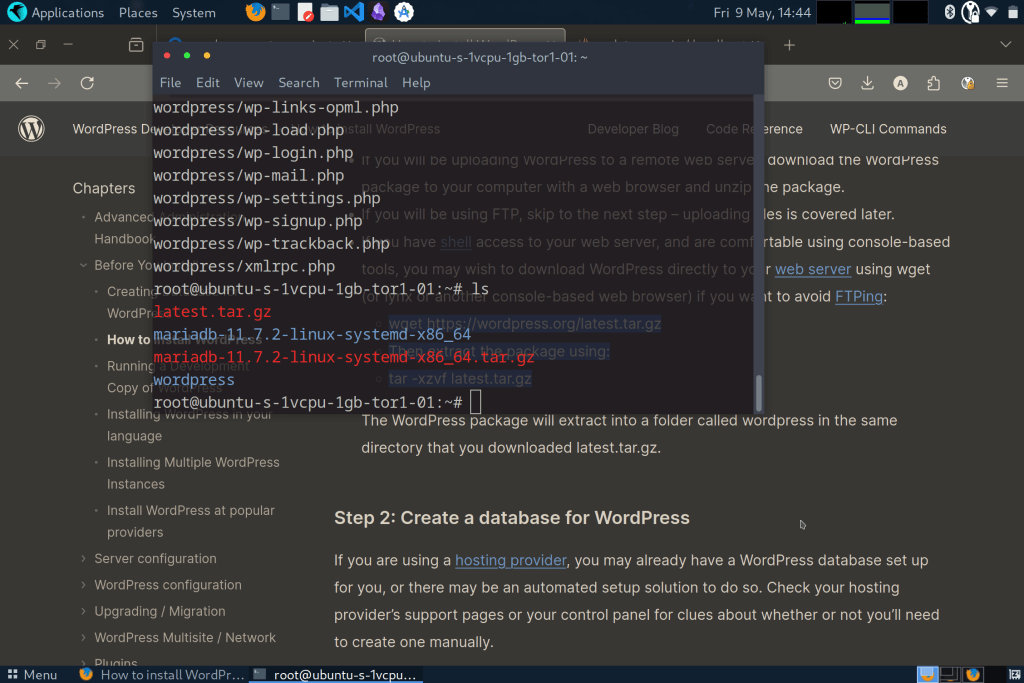
It’s best to follow the individual installation guides to install them. With that said, the commands that worked for me, were roughly the following (Remember to use strong passwords):
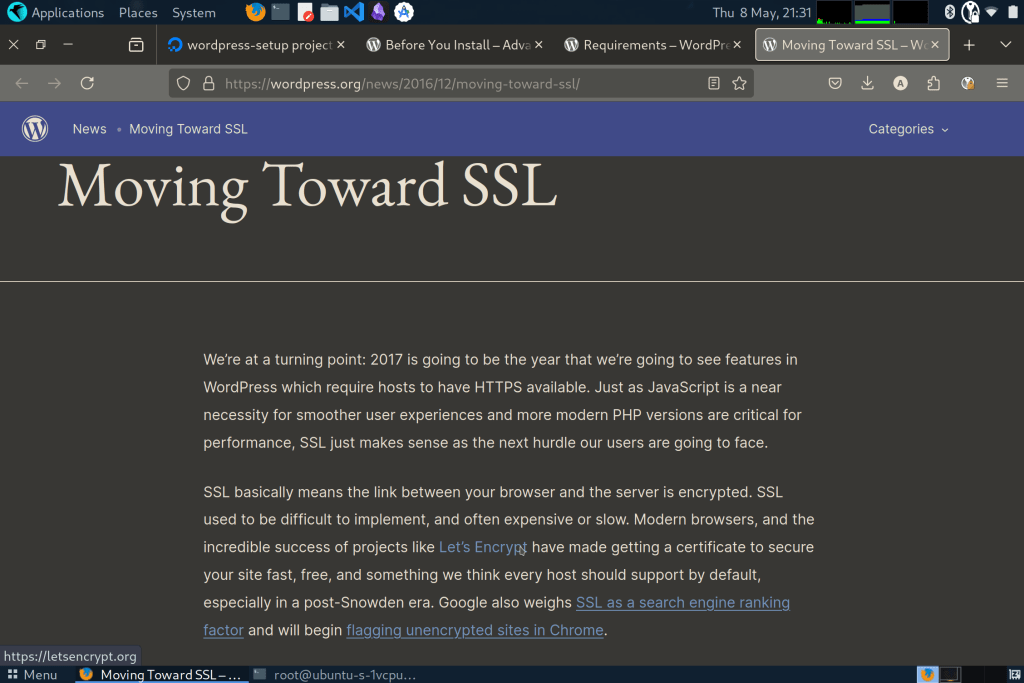
Brief steps to secure using https, Setup an ‘A’ dns record to point the domain to the instance’s IP, then create/use ssl certificates, say from LetsEncrypt, Cloudflare, and configure the web server, Apache in my case, to enforce https only connections.
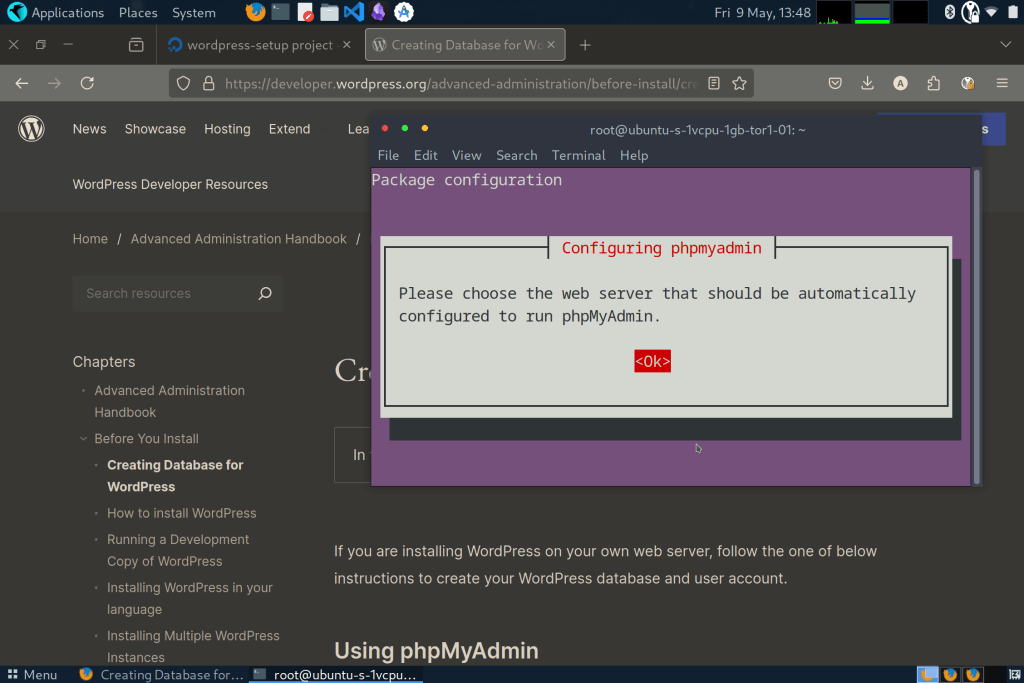
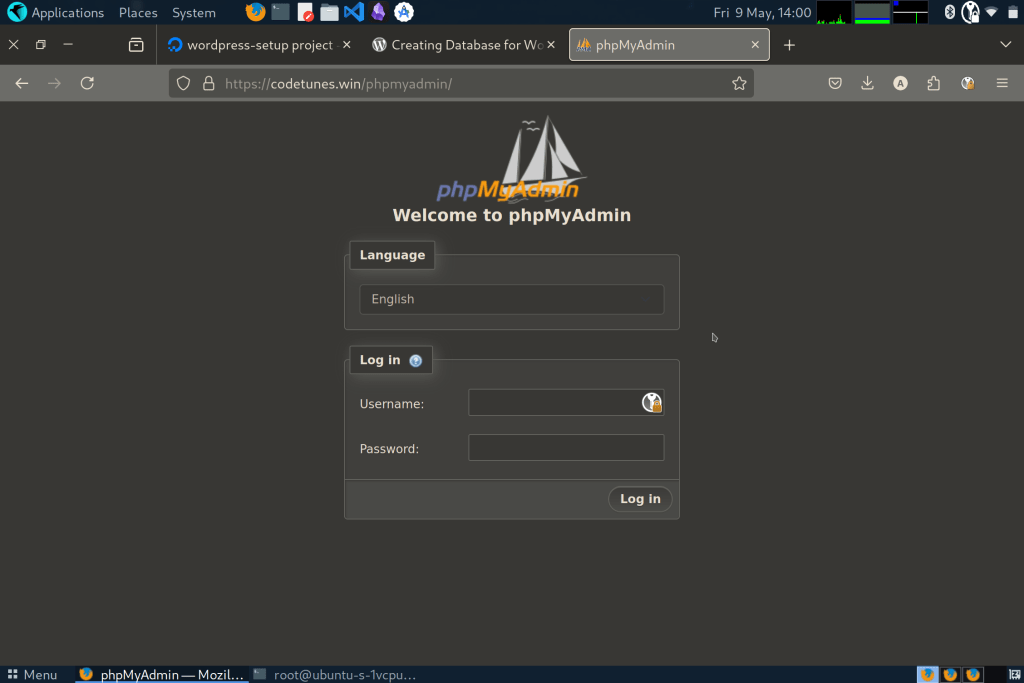
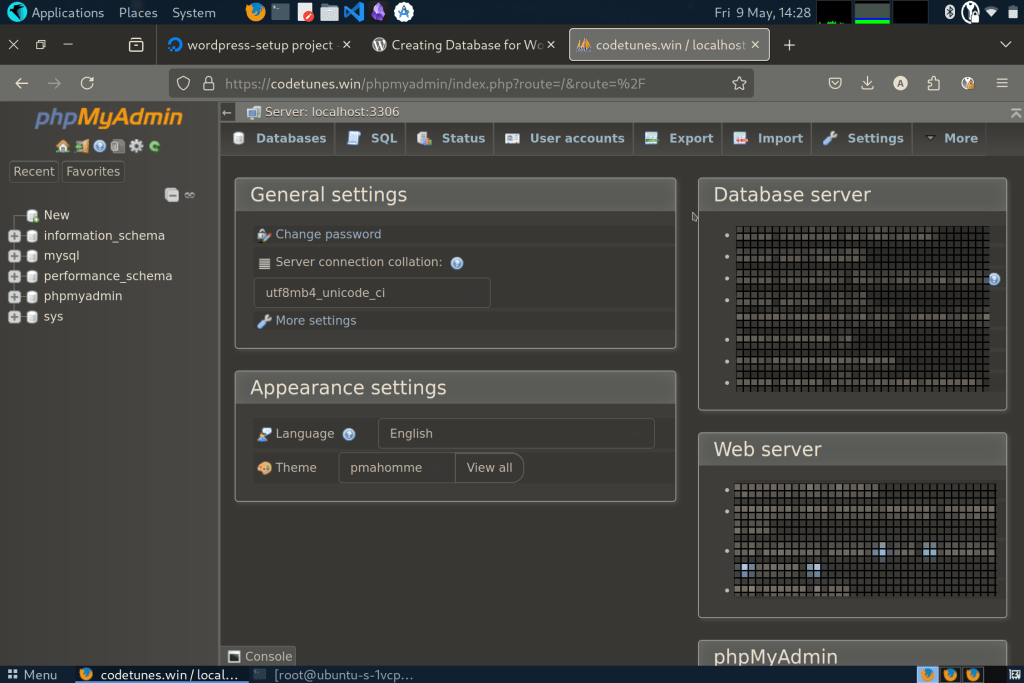
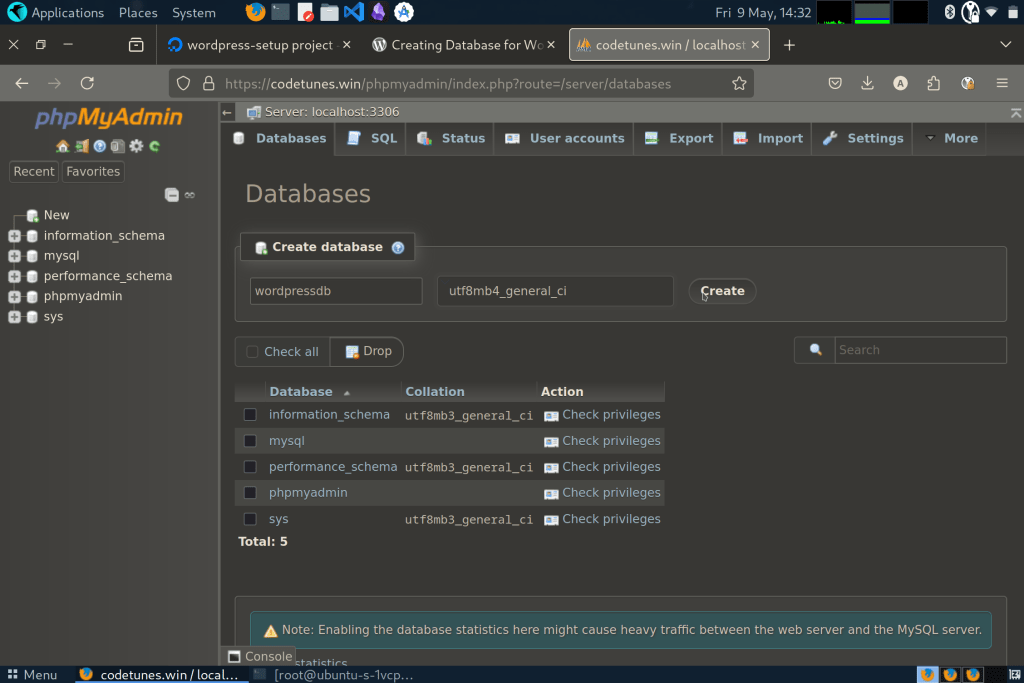
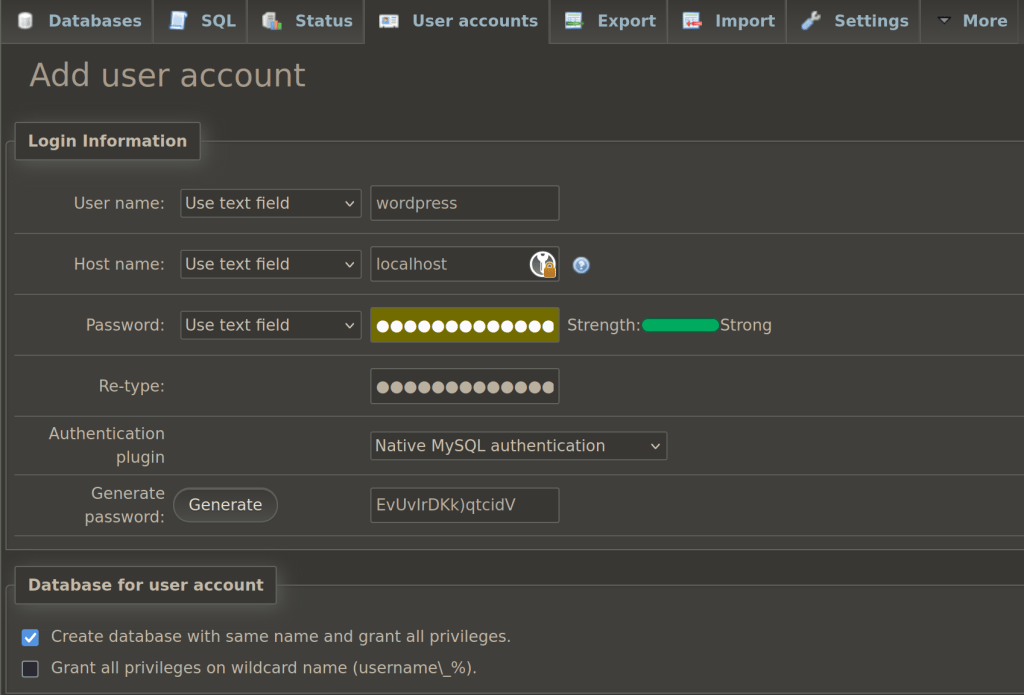
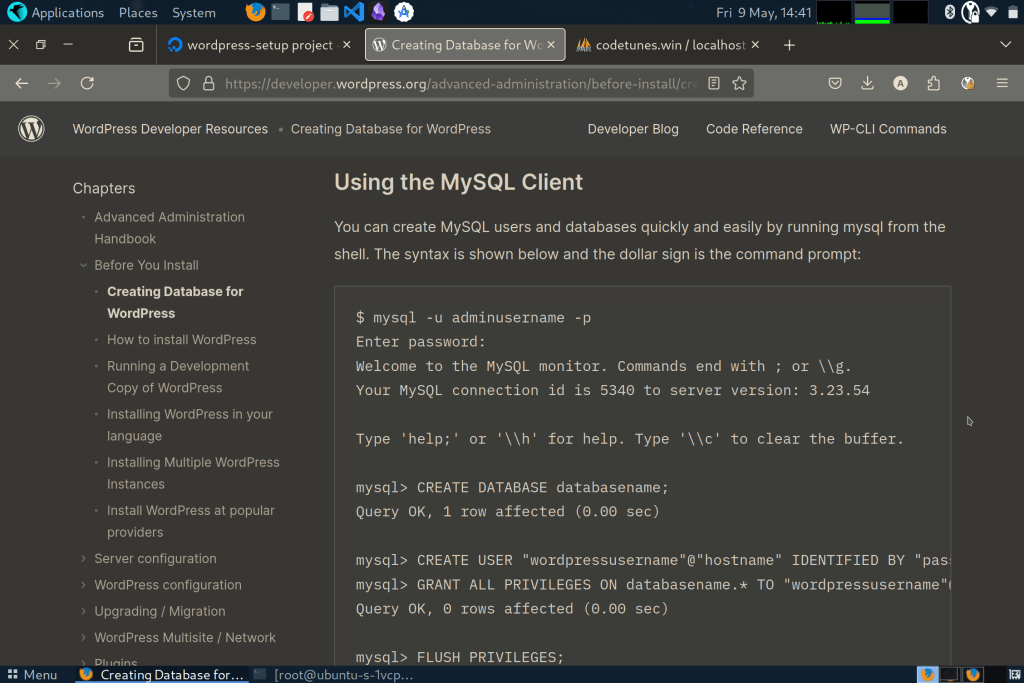
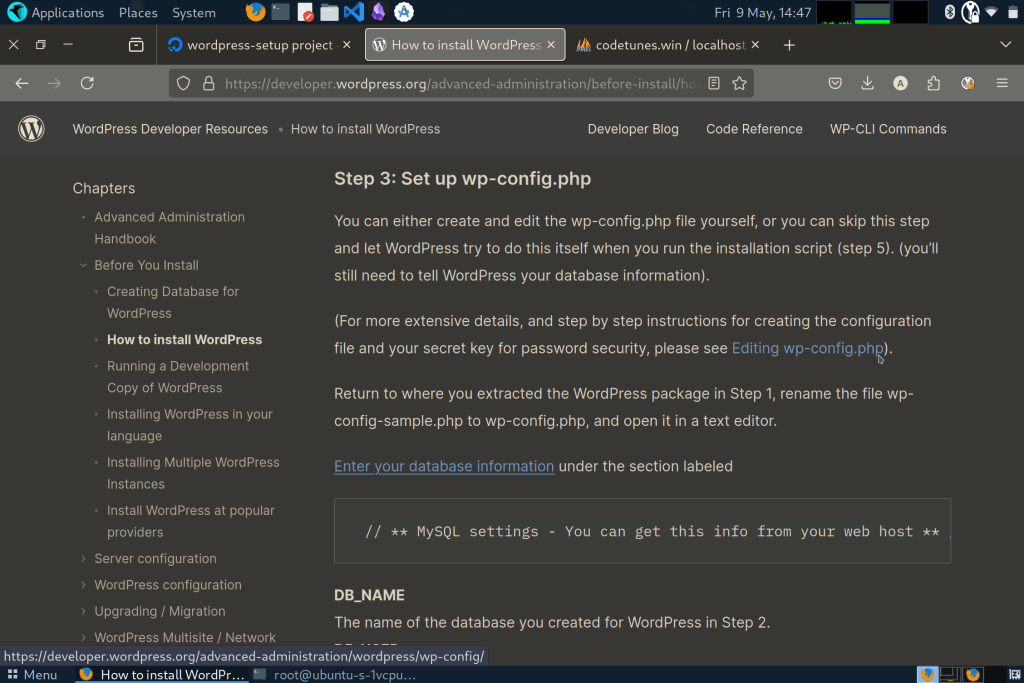
After installing all that, and setting those up, we create a database for wordpress to use. The simplest step I found was to use phpmyadmin, create a user called wordpress, and check the boxes which also creates the database with the same name, and grants access permissions to that database. You can also use the command line to the same, the guide has instructions for MySQL.
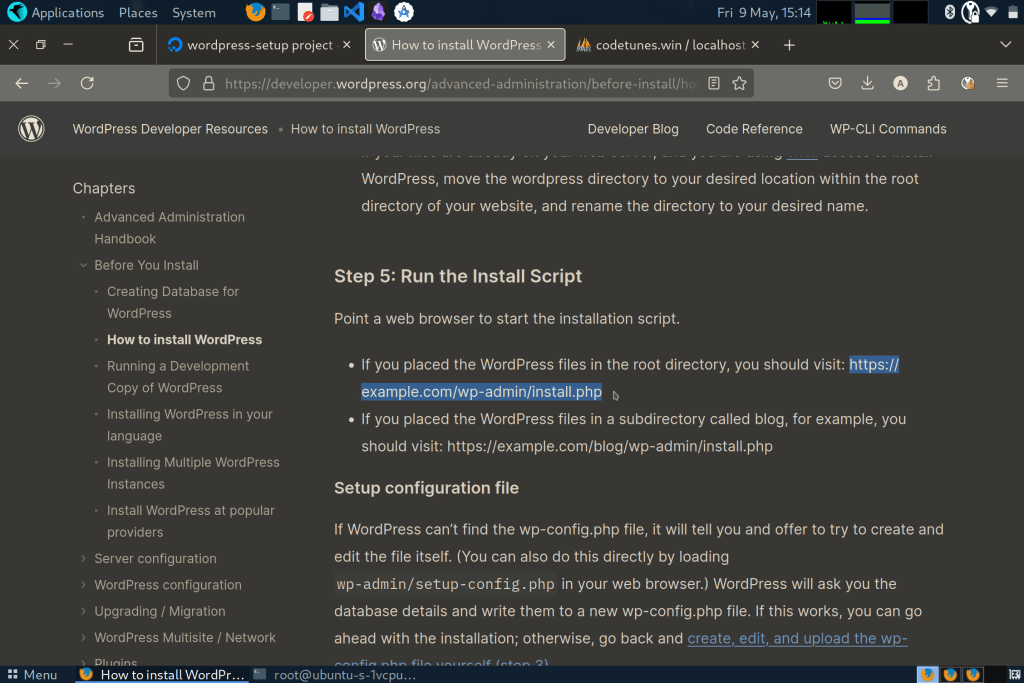
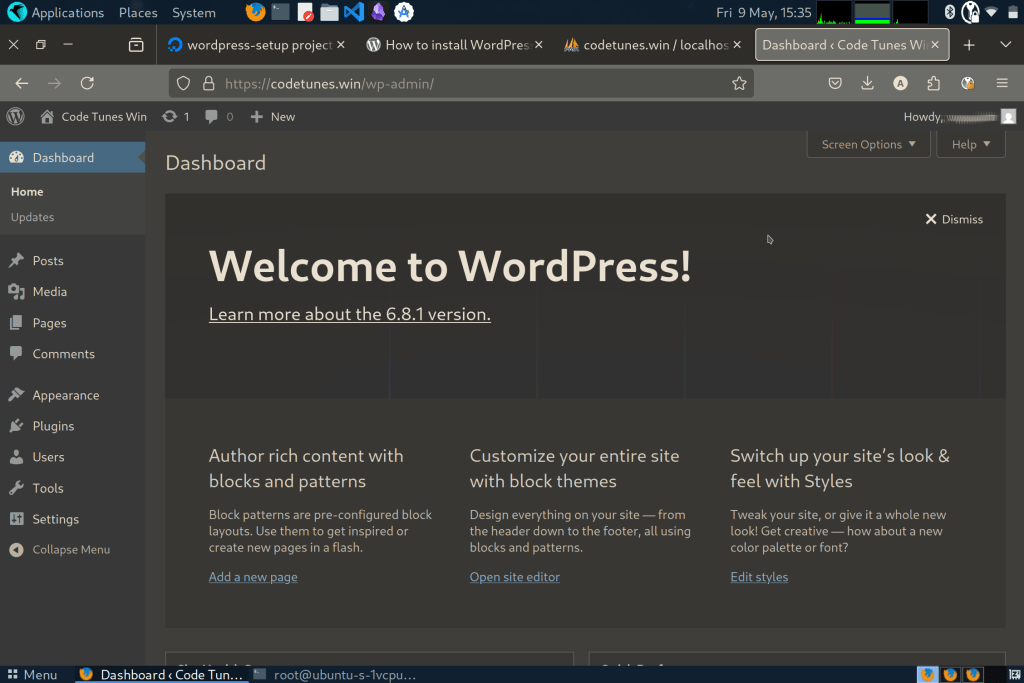
Alright, if you’ve made it this far, it’ll get easier, and we’ll finally